This is a tutorial on how to use Yanhua Mini ACDP 2 + Module 31 to add keys for the BMW F chassis BDC 085 version via OBD(DoIP method).
Check the video for full operation:
Procedure:
Connect Mini ACDP & OBDII interfaces with Module 31 DoIP adapter.
Open the Mini ACDP app.
The device number displayed in the top right corner indicates successfully connected.
BMW >> FEM/BDC >> IMMO/Mileage >> BDC OBD(F chassis, Version 085) >> Detect vehicle info
Please use the ACDP standard power adapter(voltage+12V, current >= 2.5A)
Connect ACDP with vehicle OBDII port!
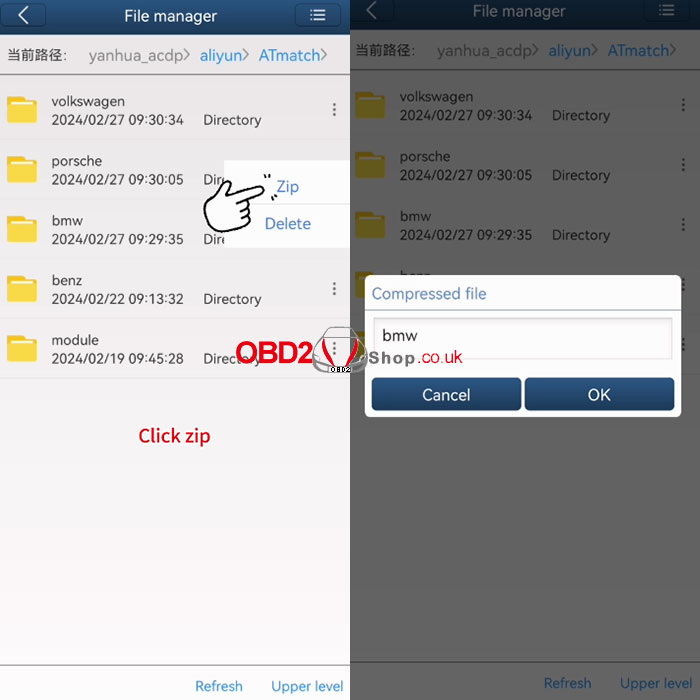
Please save the vehicle system data.
Check vehicle info is normal.
Identify vehicle info finish.


Obtain IMMO data >> Read coding data >> OK
Connect ACDP with vehicle OBDII port!
Check vehicle info is normal.
Please save coding data.
Read coding data finish.
Program/Upgrade system >> DoIP update >> OK >> Continue
Please save the vehicle system data.
The backup file succeeded.
Check vehicle info is normal.
About to start getting data from the server, please keep the network open during the process of getting data!
Prepare to program, please make sure the stable power supply and DO NOT pull out the device during the programming!
Programming ECU, please wait...
Please save key data.
Obtain keys data finish.
Write coding data >> OK >> Continue
Verify the coding status of the vehicle info.
If it's a lost state, click "Continue" to restore it. If it's a normal state, click "Quit".
Please select coding data.
Writing coding data, please wait...
Write coding data finish.


Click "Add key Help".
1. Connect ACDP to OBDII, when using Mini ACDP-2, it's necessary to change the Diop cable to the OBDII extension cable.
2. Connect the BAV-KEY adapter to the ACDP-2 device properly.
3. Place the working key into the BAV-KEY adapter properly.
Add key >> OK >> Continue
Vehicle info is normal.
Please select key data.
Confirm the working key has been correctly placed in the BAV-KEY adapter.
Please save ISN data.
The backup file succeeded.
Take a screenshot or click "Export" to save IMMO info.
Select any free key position, and click "Continue."
Please put the new key close to the emergency start sensing antenna position(located at the steering wheel's right hand).
Learning new key...
Generate a new key finish.
Remember to check whether the new key functions properly.
Done.


.jpg)
.jpg)
.jpg)
.jpg)
.jpg)
.jpg)
.jpg)
.jpg)
.jpg)
.jpg)
.jpg)